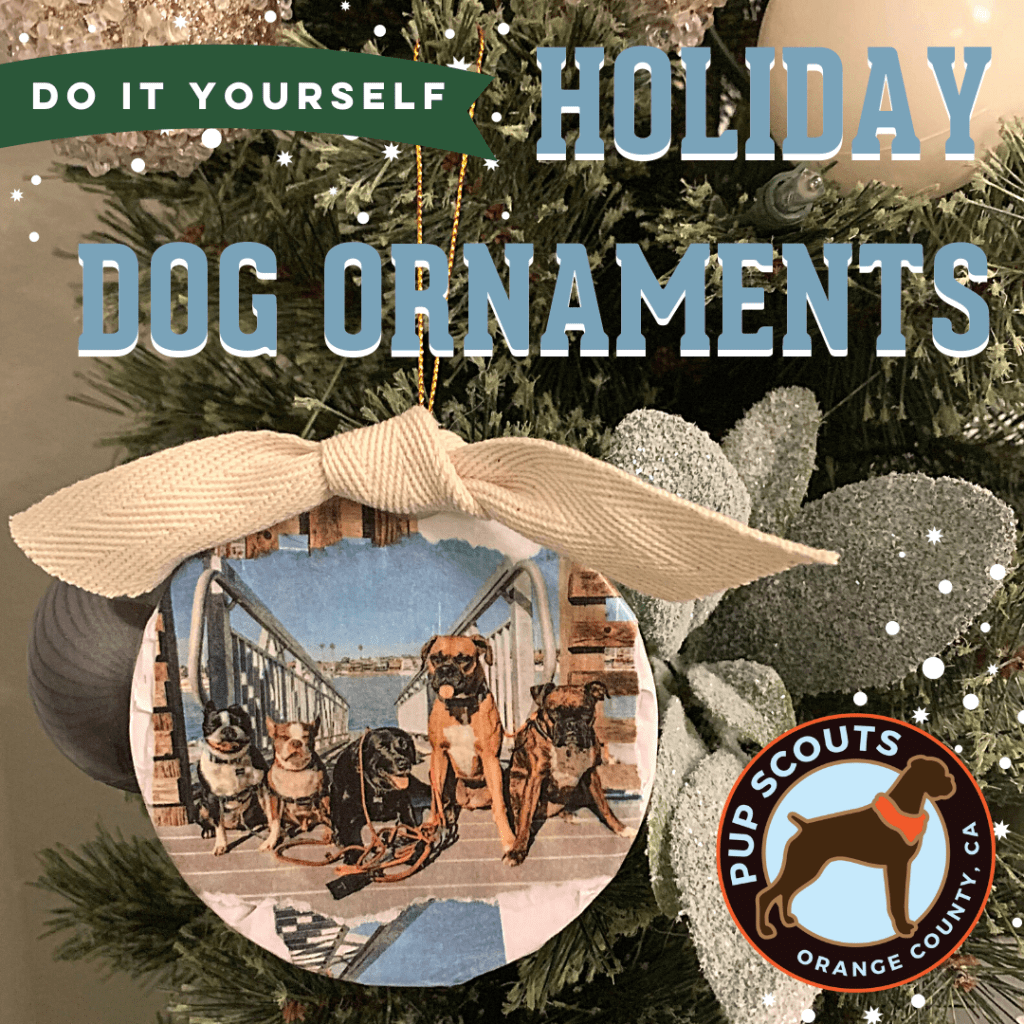
I’ve had these Holiday Dog Ornament DIY in my back pocket for a while now and am so excited to share it with you! The great thing about this DIY is that you can use any image that you want. So while this will be dog focused for the purposes of keeping our content pup related, you can (in theory) make this for baby milestones, a wedding gift, end of the year gifts, for co-workers, the list really goes on! All you need is some pictures and time to assemble these cuties!
I also like this craft because while I consider myself to be a pretty crafty person, I know the majority of people aren’t (and that’s totally okay!). This DIY is for a total novice or for anyone that might not be crafty but can certainly follow directions. Lastly, they are SO INEXPENSIVE… so while we are all trying to make the most of the holidays but hi, COVID-19 is still here and some folks have jobs still up in the air, so this is a great way to spread some holiday cheer without breaking the bank! Alright, let’s get started…
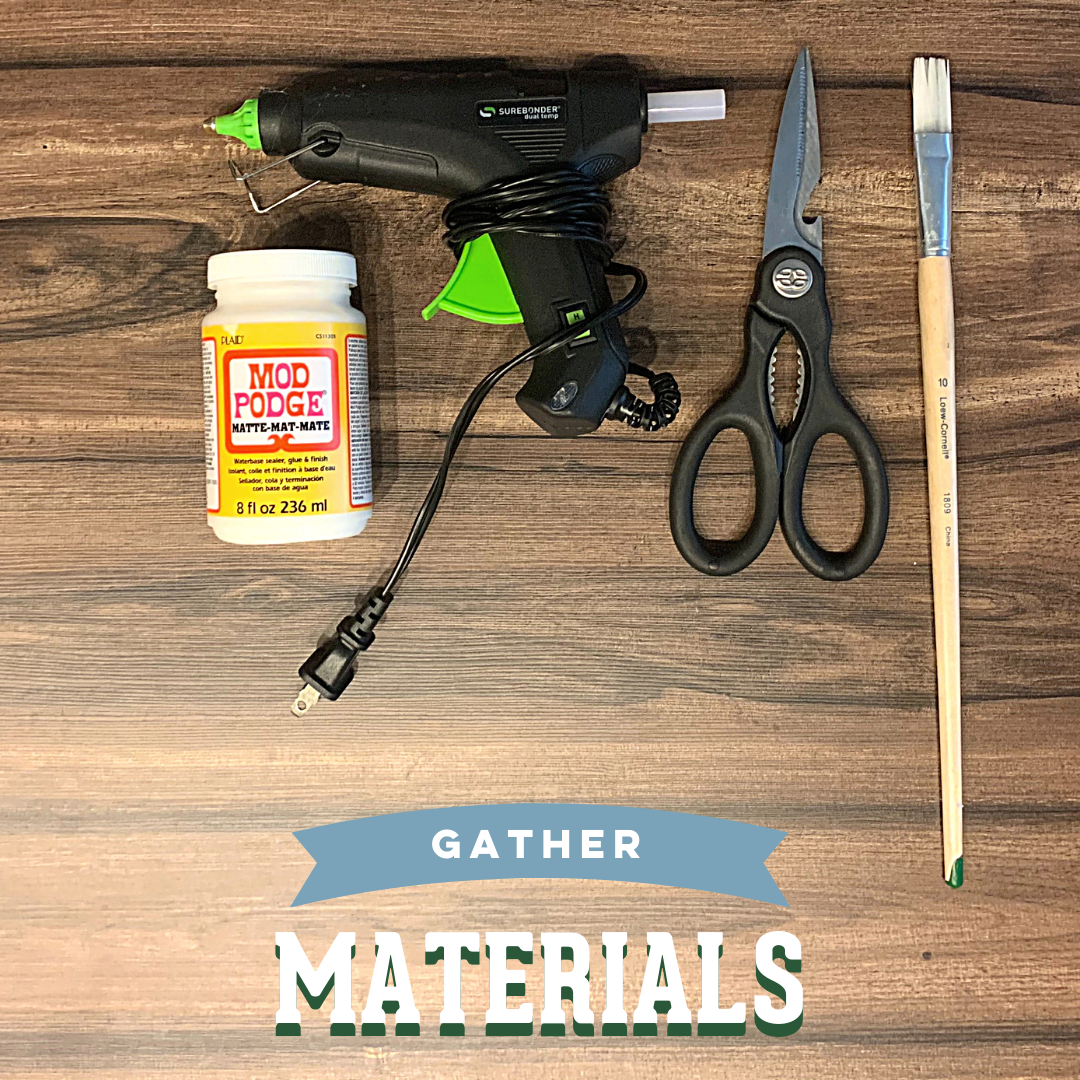
Materials You Need
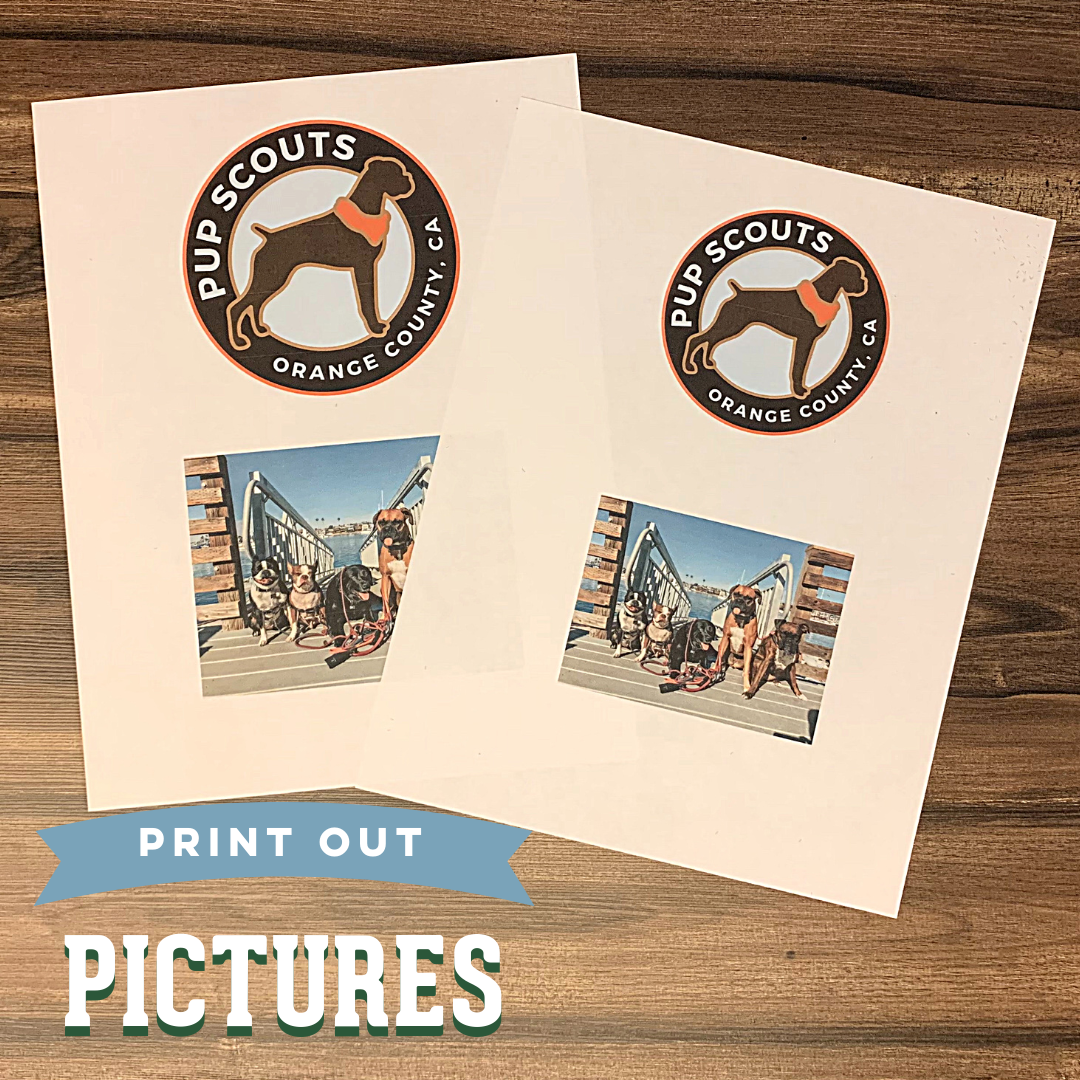
– Print Outs of Pictures
Find two pup pictures that you want to feature (since the ornament is double sided) and print them out in two different sizes. One being a little oversized and the other being able to fit on the front of the ornament. SUPER IMPORTANT – These pictures need to be printed out on regular printer paper. Not photo paper or anything fancy. Just plain old white printer paper. Reason being is we need the paper to be moldable and flexible. So regular paper works best for this.
If you’re creating an ornament inspired by your pup and only want to use one picture, print out their name and the date in a cool font, print that out and use it for the back of your ornament! This would be really cute if you just got a puppy and it’s your first holiday season with them or to mark any special pup occasion.
– Craft paper ornaments
Being that we are in OC, I purchased these at Hobby Lobby. But you can find these at any craft store like Michaels or Joann’s.
– Ribbon
I usually like to use velvet ribbon, but couldn’t find the color I wanted. So I decided to add some texture and pick a neutral colored ribbon that has some ribbing to it. Again, no right or wrong here, so you can choose any ribbon you want!
– Scissors
I’m pretty sure we all know her.
– Hot Glue Gun and Hot Glue Sticks
TBH, I wouldn’t recommend doing this craft with a kid, solely because it can get pretty messy. Also, I’m not a mom, but I’m going to take a stab in the dark that hot glue and children isn’t a good mix!
– Paint Brush
I used an artist’s paint brush, but you can use those craft foam ones or anything that doesn’t have thick bristles.
– Mod Podge
This is the secret sauce right here and if you have never heard of this product, your life is about to change for the better! I bought a larger 8 fl oz tub in Matte but you can choose any size you want. I like Matte finish for these ornaments, so be sure to check the finish to make sure you’re purchasing the right one.
– (Optional) A small bag
I like to include a small muslin bag with my ornaments if I’m giving them as a gift. This is so they can be preserved and protected easily and it just looks really nice when presented in a bag.
I purchased everything at Hobby Lobby, but again, you should be able to find all of these materials at any basic craft store.
Side Note:
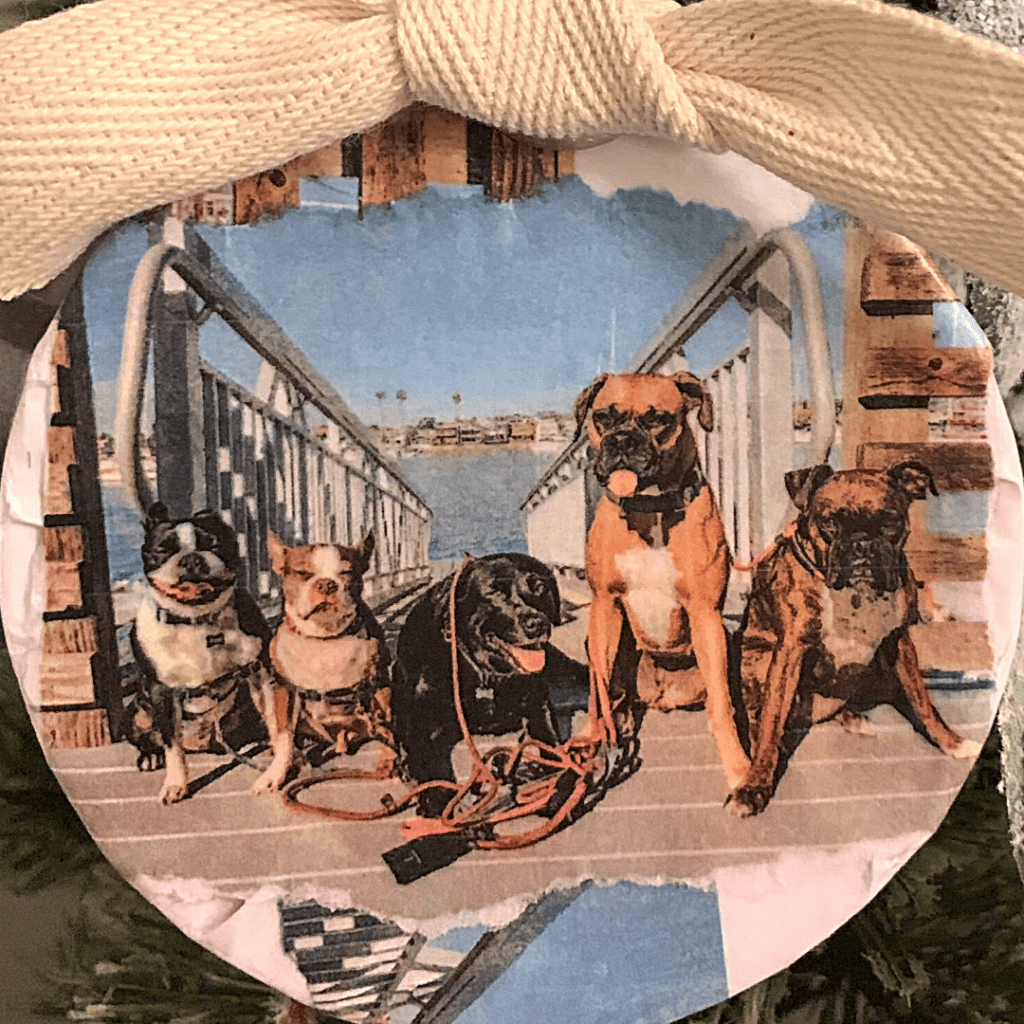
The look of these ornaments are sort of scrapbook-ish (I don’t think that’s a word but hopefully you know what I mean). Very organic and a DIY look. For that reason, I like ripping the paper by hand. If your OCD starts to kick in, you can definitely use scissors to cut out various shapes, but I like to rip the paper to embrace any imperfections and also it’s kind of therapeutic!
Instructions
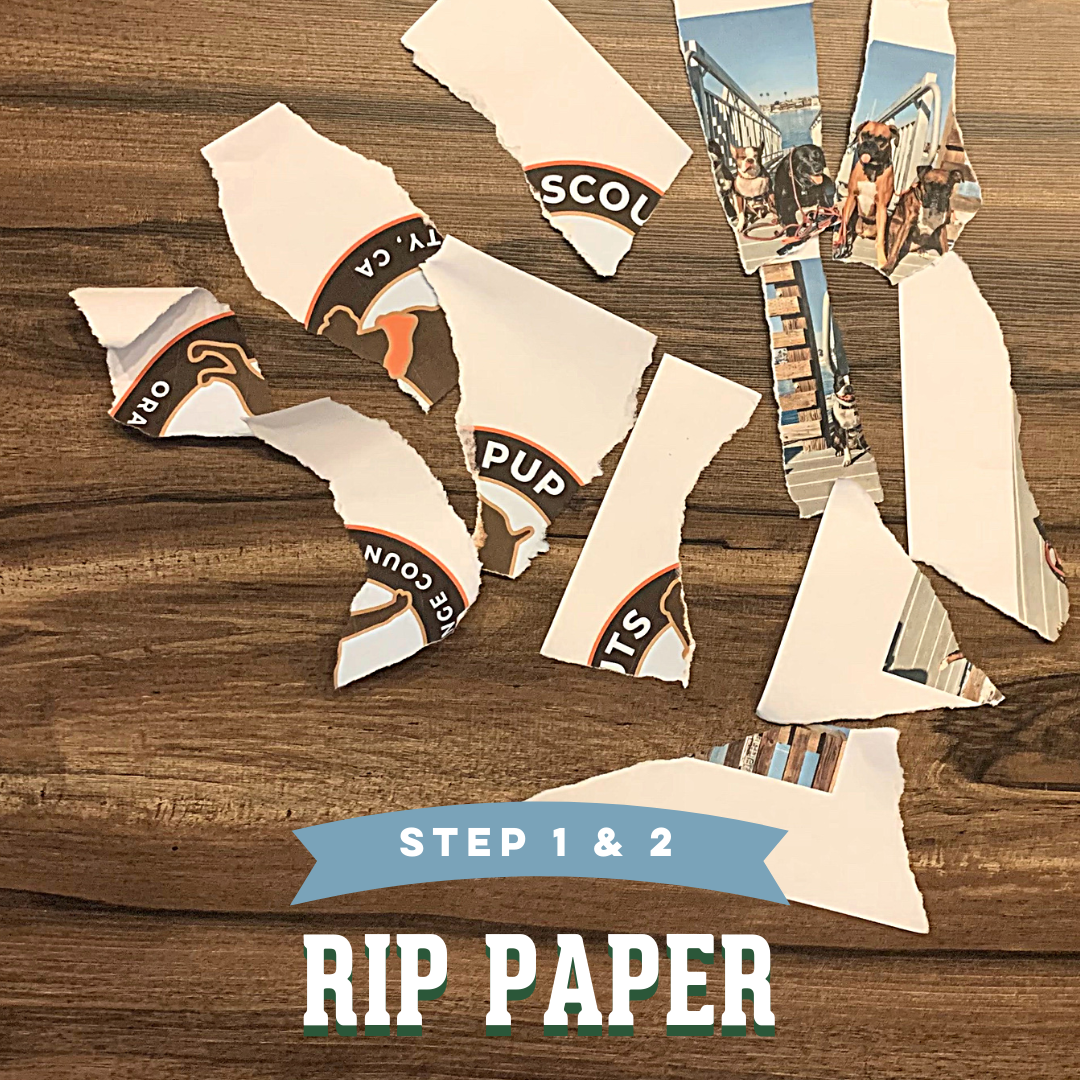
1. Rip around the edges of the main photograph you want to highlight. This should be done on the printout that is your smaller size.
2. With the oversized image print out, rip into oversized random shapes and pieces. These will be used for the outer portion of your ornament, so more rectangular shapes are better.
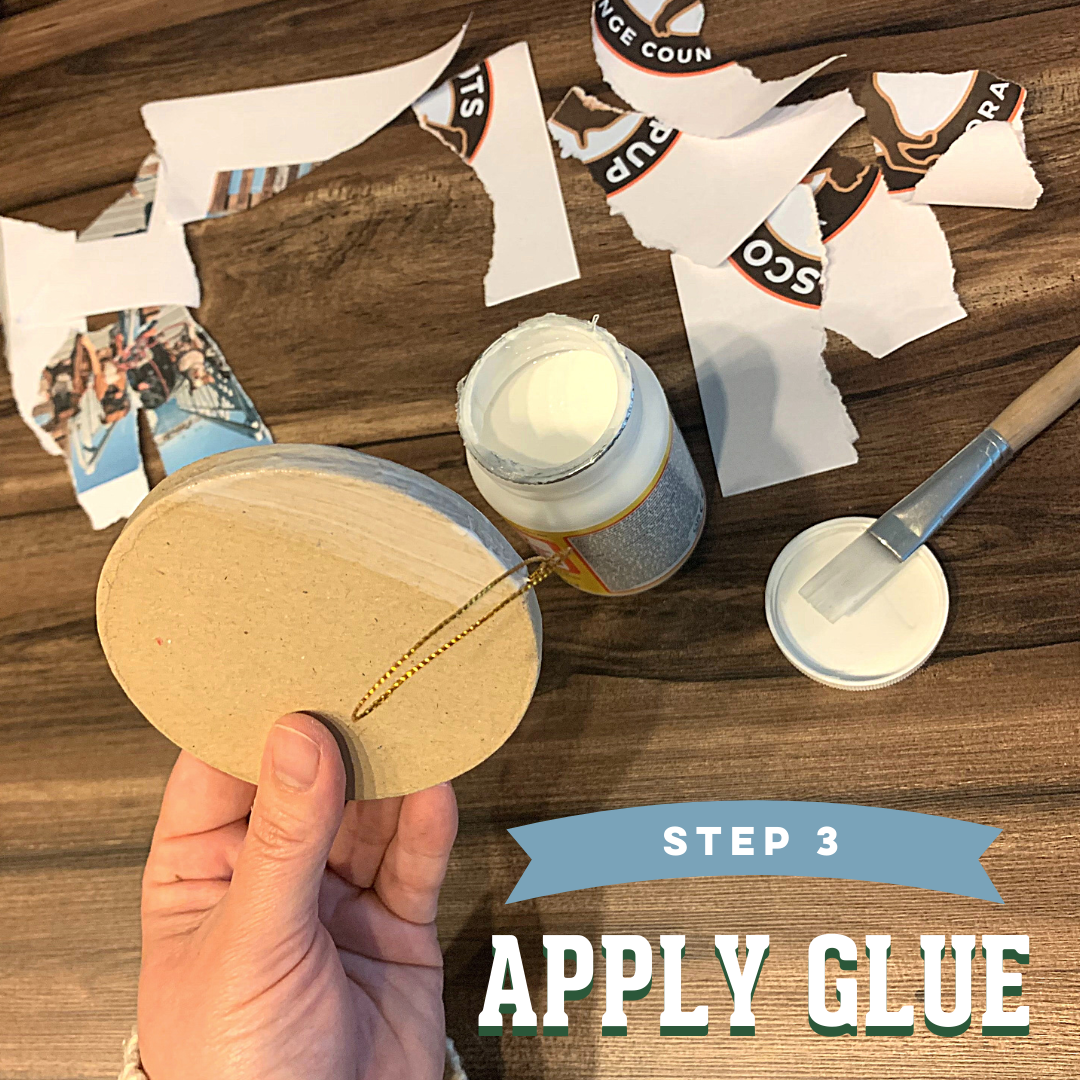
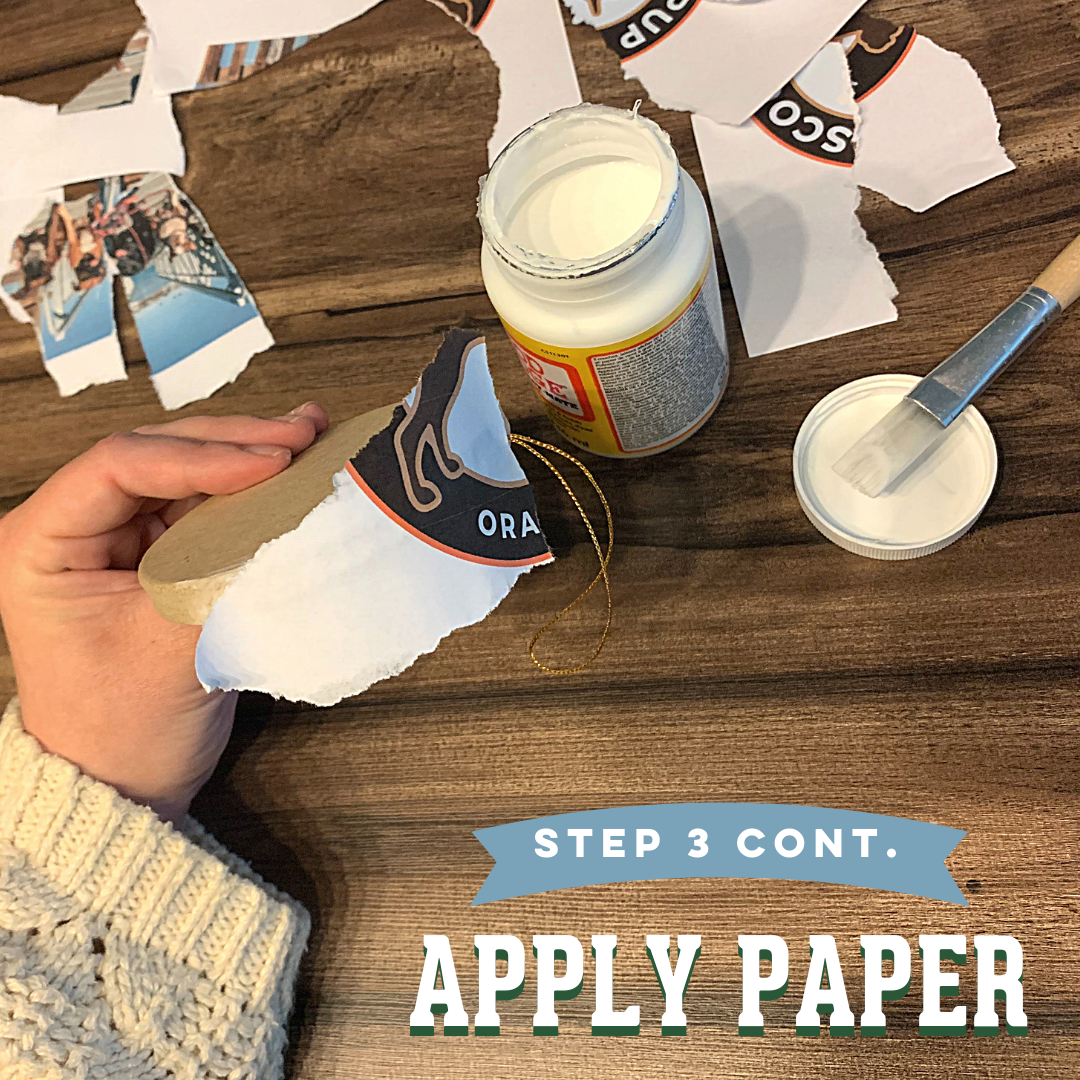
3. Get your paint brush and dip it in your Mod Podge and apply to outer edges of your ornament. I recommend doing this in sections. Meaning, I paint on a small section, then place my strip of paper on top of it, then continue to do this until the entire outer edge is covered with paper.
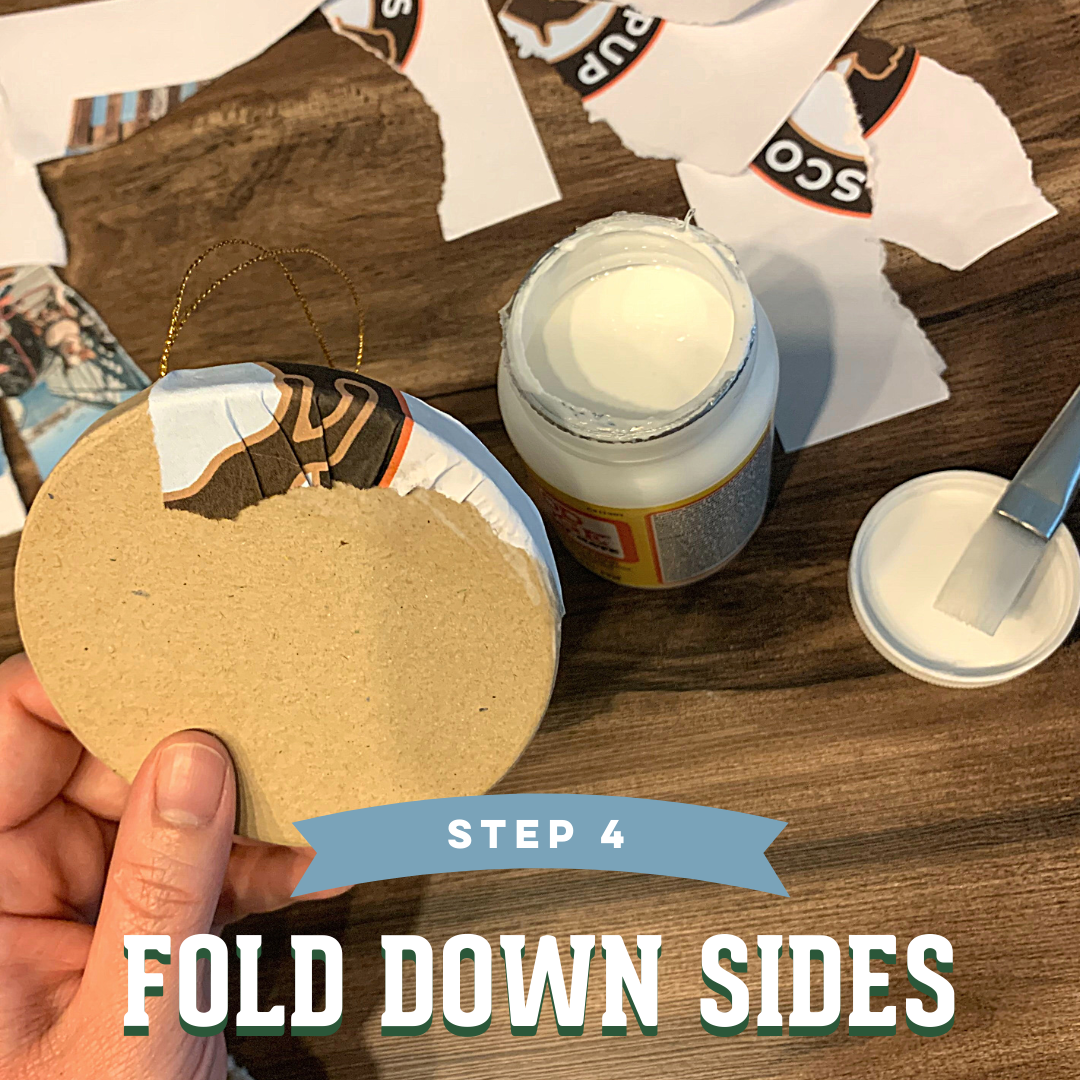
4. Once your outer edges are covered, apply Mod Podge to the front of your ornament and begin folding the paper flat onto the front surface *This is where it can get a little messy*. Since the ornament is circular in shape, your folds may start to look like fans and might not be perfectly flat – this is totally okay! Just apply some Mod Podge on top of the paper with your brush and smooth it out with your fingers.
5. Let your ornament dry before continuing onto Step 6.
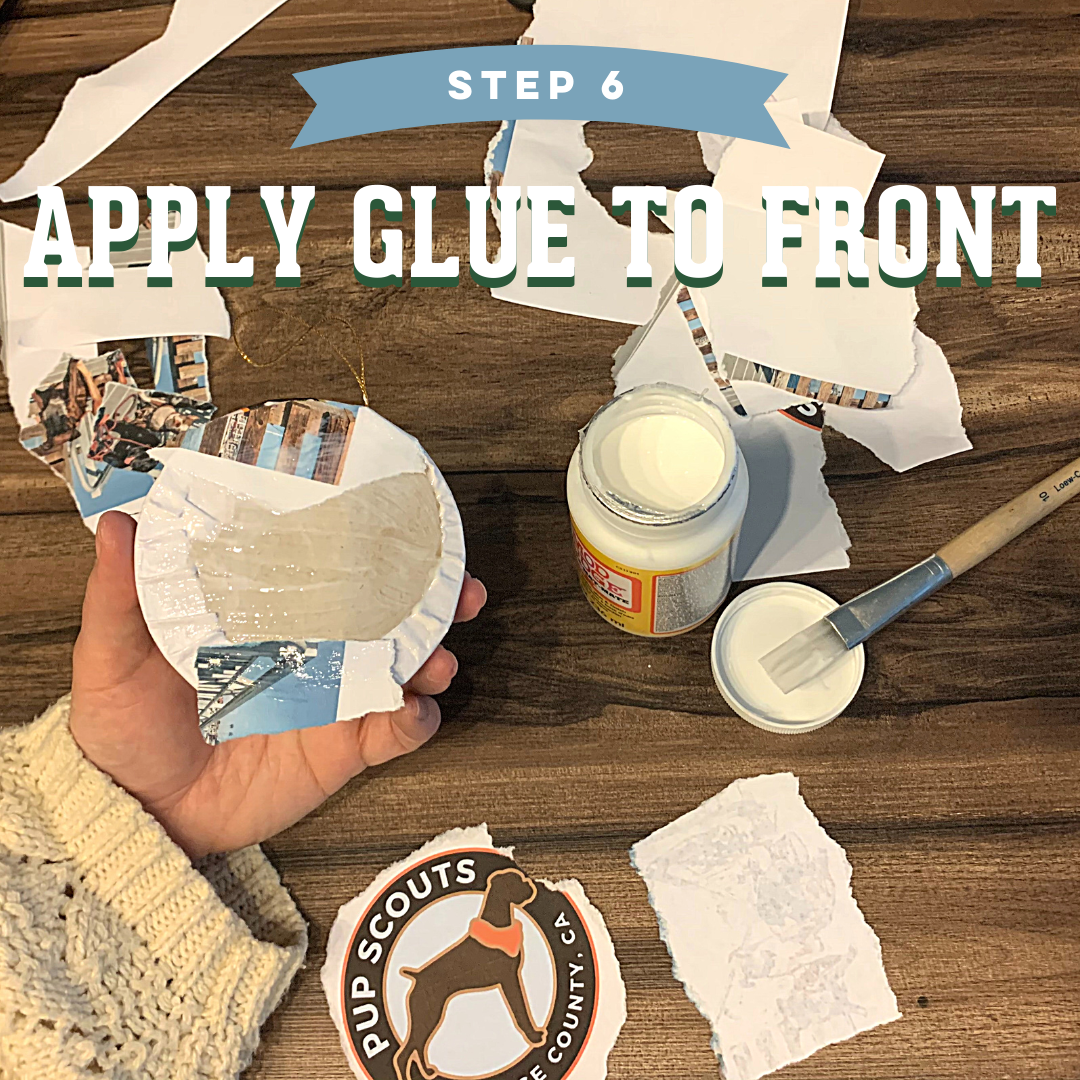
6. Once your ornament is dried, grab the smaller image that you want to be on the front of your ornament. Place it where you think you want it and notice if there are any areas that you can see the brown craft paper of the ornament through. If there are, cover these areas with more scrap paper by applying Mod Podge to the ornament and placing your paper scraps on top of it.
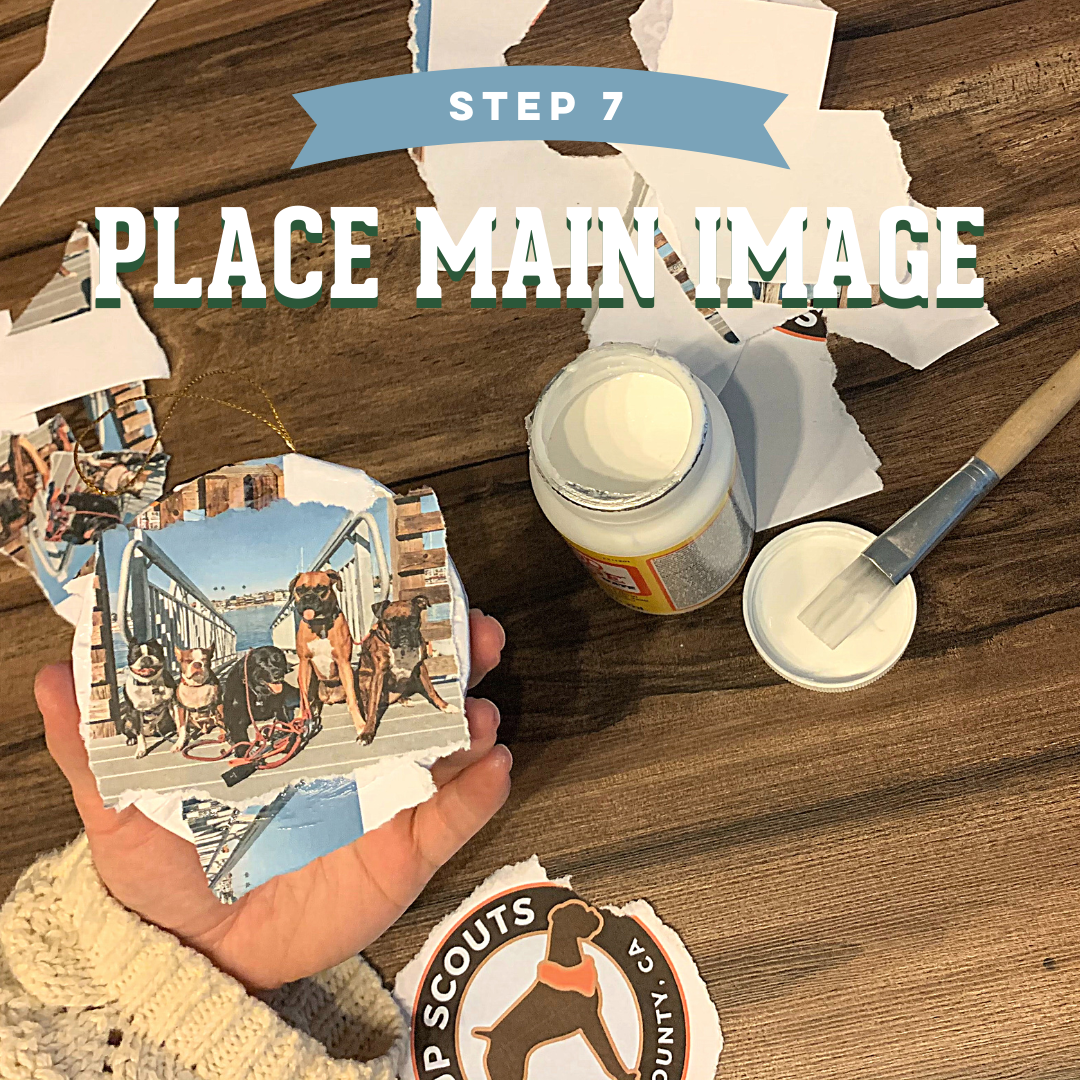
7. Once you can see that all excess areas are covered, apply Mod Podge to the center area of your ornament and place your small image whatever way looks good to you.
8. Now Mod Podge the entire ornament until you get a thin layer on every surface. I usually do this by holding the ornament by the top string, but you can also do this in steps and do one side, let it dry and then finish the other side.
9. Once your ornament is completely covered in a layer of Mod Podge, hang somewhere safe and let it dry for a few hours.
10. After a few hours, check on your ornament and inspect to see if you need to fill any areas where there isn’t Mod Podge. You can even do an entire second coat if you want it to be really sealed and secure.
11. Now, let your ornament dry overnight.
12. Check to make sure your ornament is completely dry. If there are any areas that are not sealed, apply for Mod Podge and let dry.
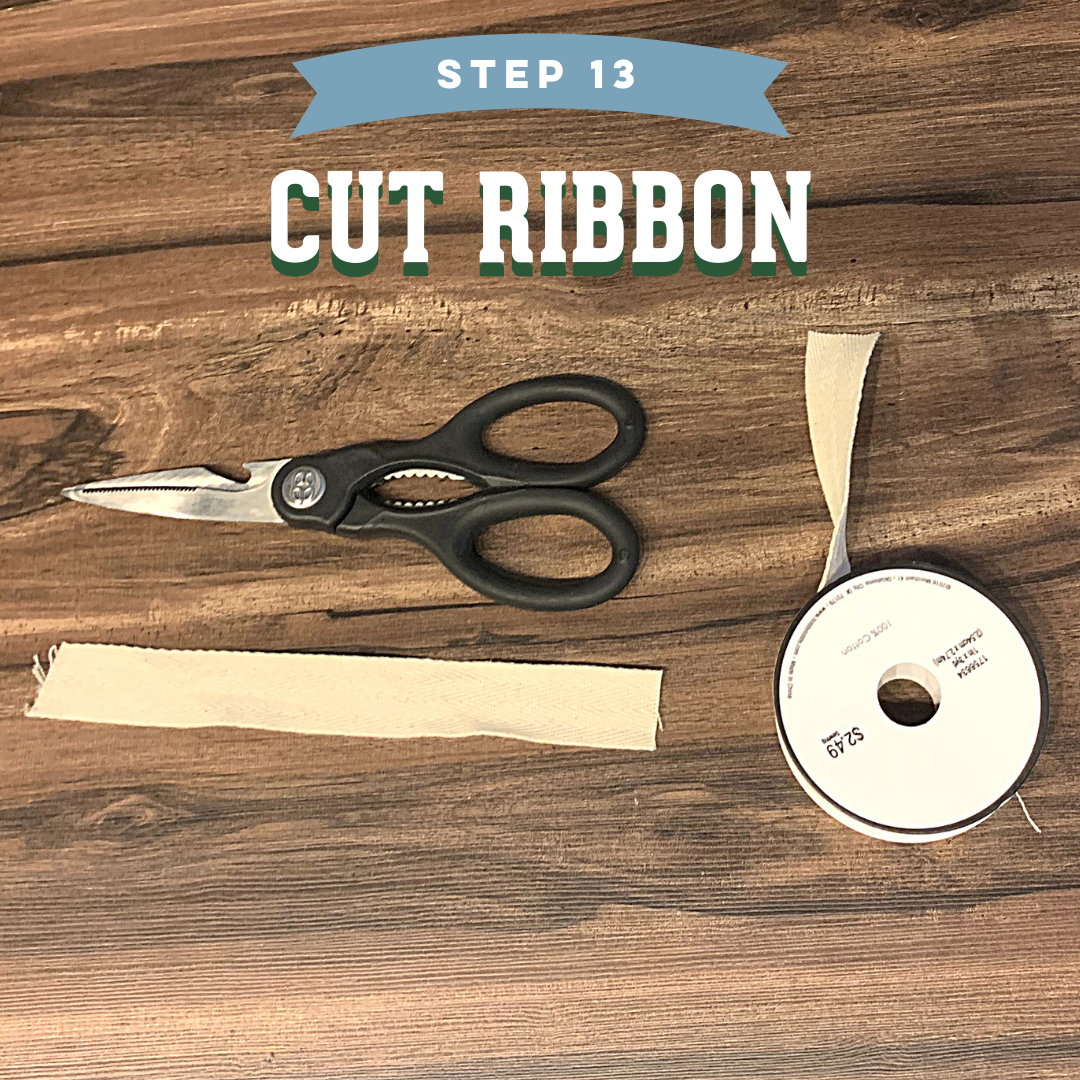
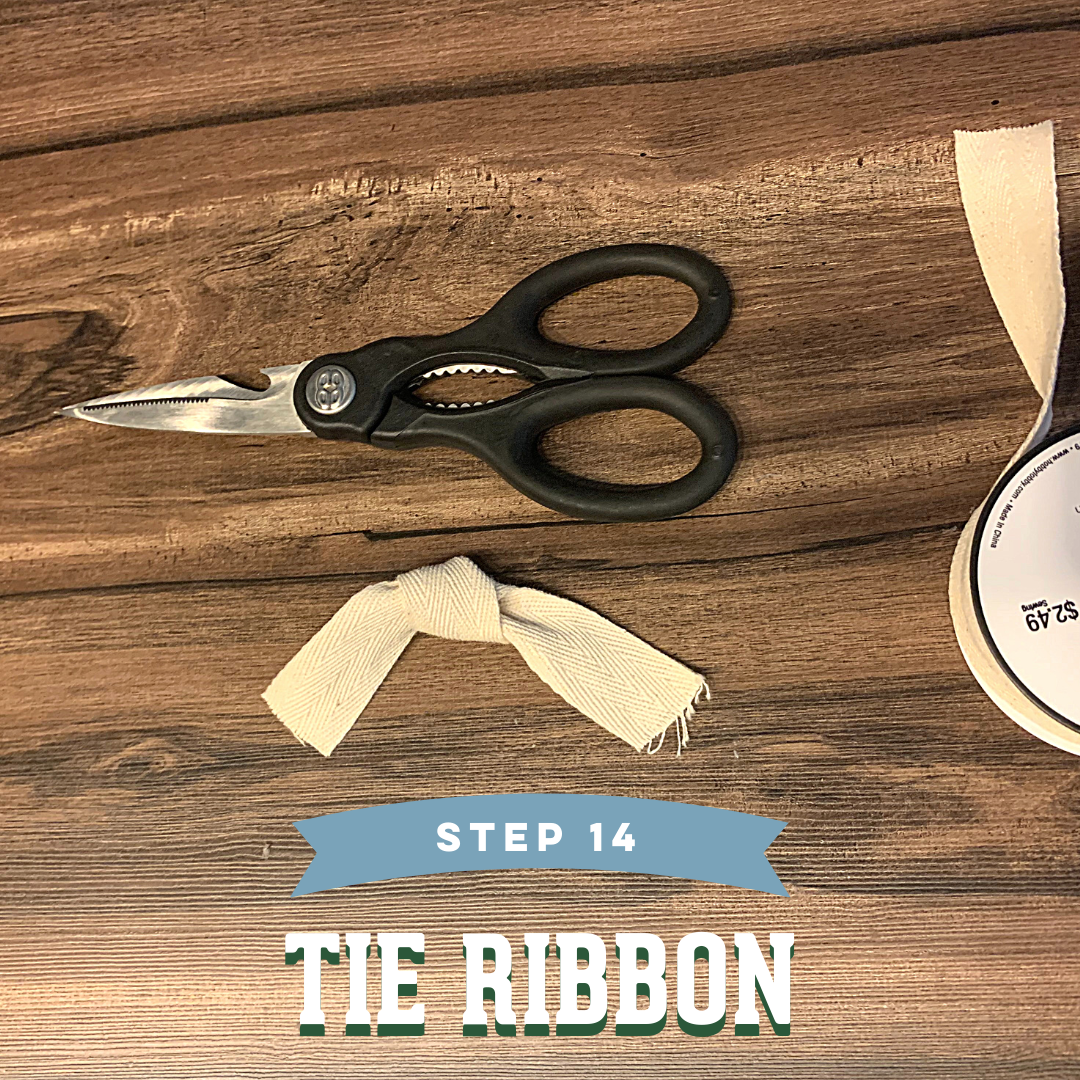
13. Add a ribbon of your choice! I like to cut off a scissors length of ribbon.
14. Tie it in a loose knot. Once I get the shape I like, then I tighten it a little to ensure it won’t unravel and cut off the edges at an angle.
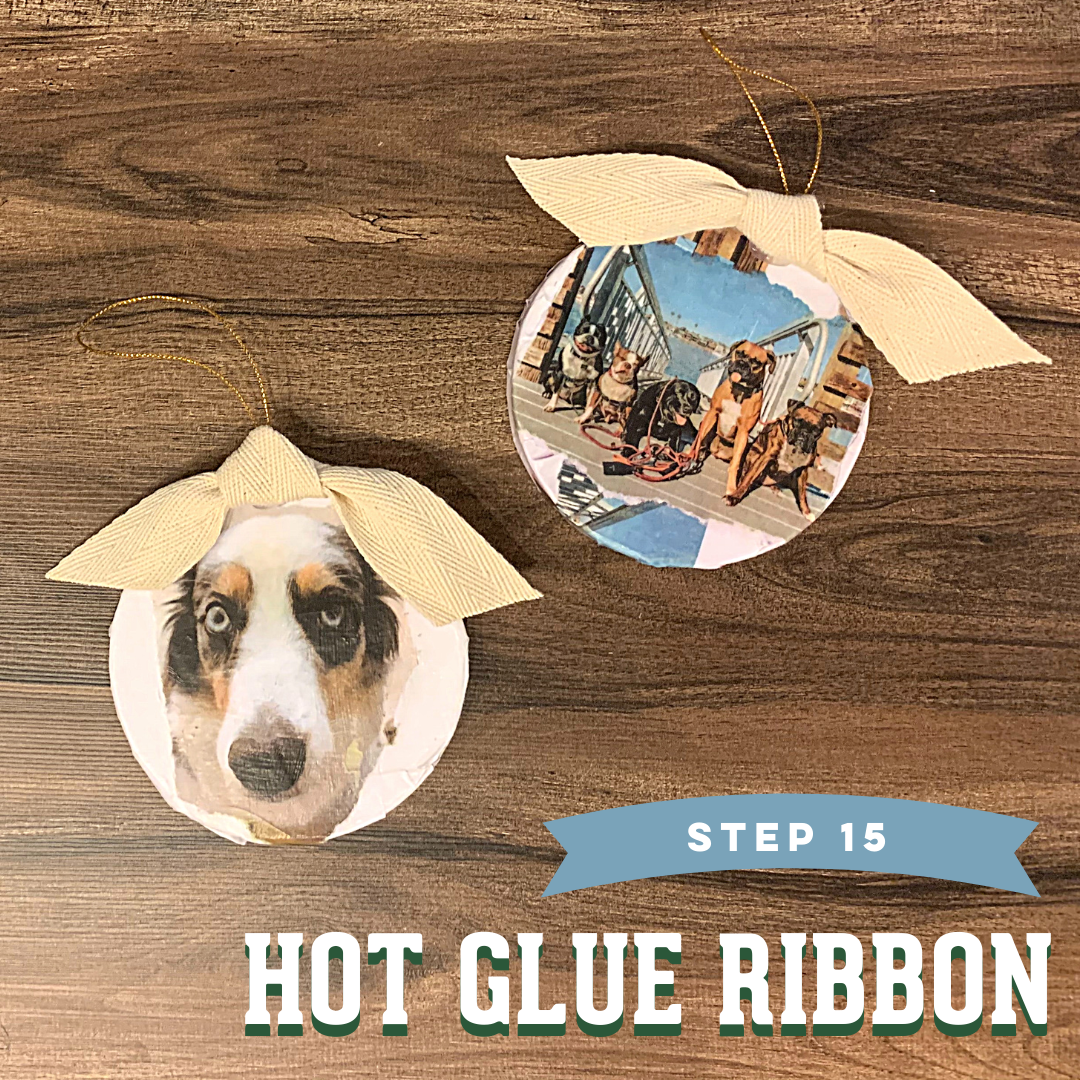
15. Finally, place some hot glue on the back-center of the ribbon and apply it to the top of your ornament. Hold in place until the glue dries.
AND YOU’RE DONE!
Again, while crafting is super fun with kiddos, I wouldn’t recommend this particular project for kids as there is really sticky glue involved, got glue and scissors. So if you’re in the mood for some adults only crafting and want to create something personalized or make a gift with some hands on fun, this little project is perfect for you!
If you end up trying this, tag us @ocpupscouts or let us know in the comments below. We would love to see your finished creations!
TILL NEXT TIME – HAPPY CRAFTING,
From the OC Pup Scouts
